
Photo Breakdown: Speedlite Portrait
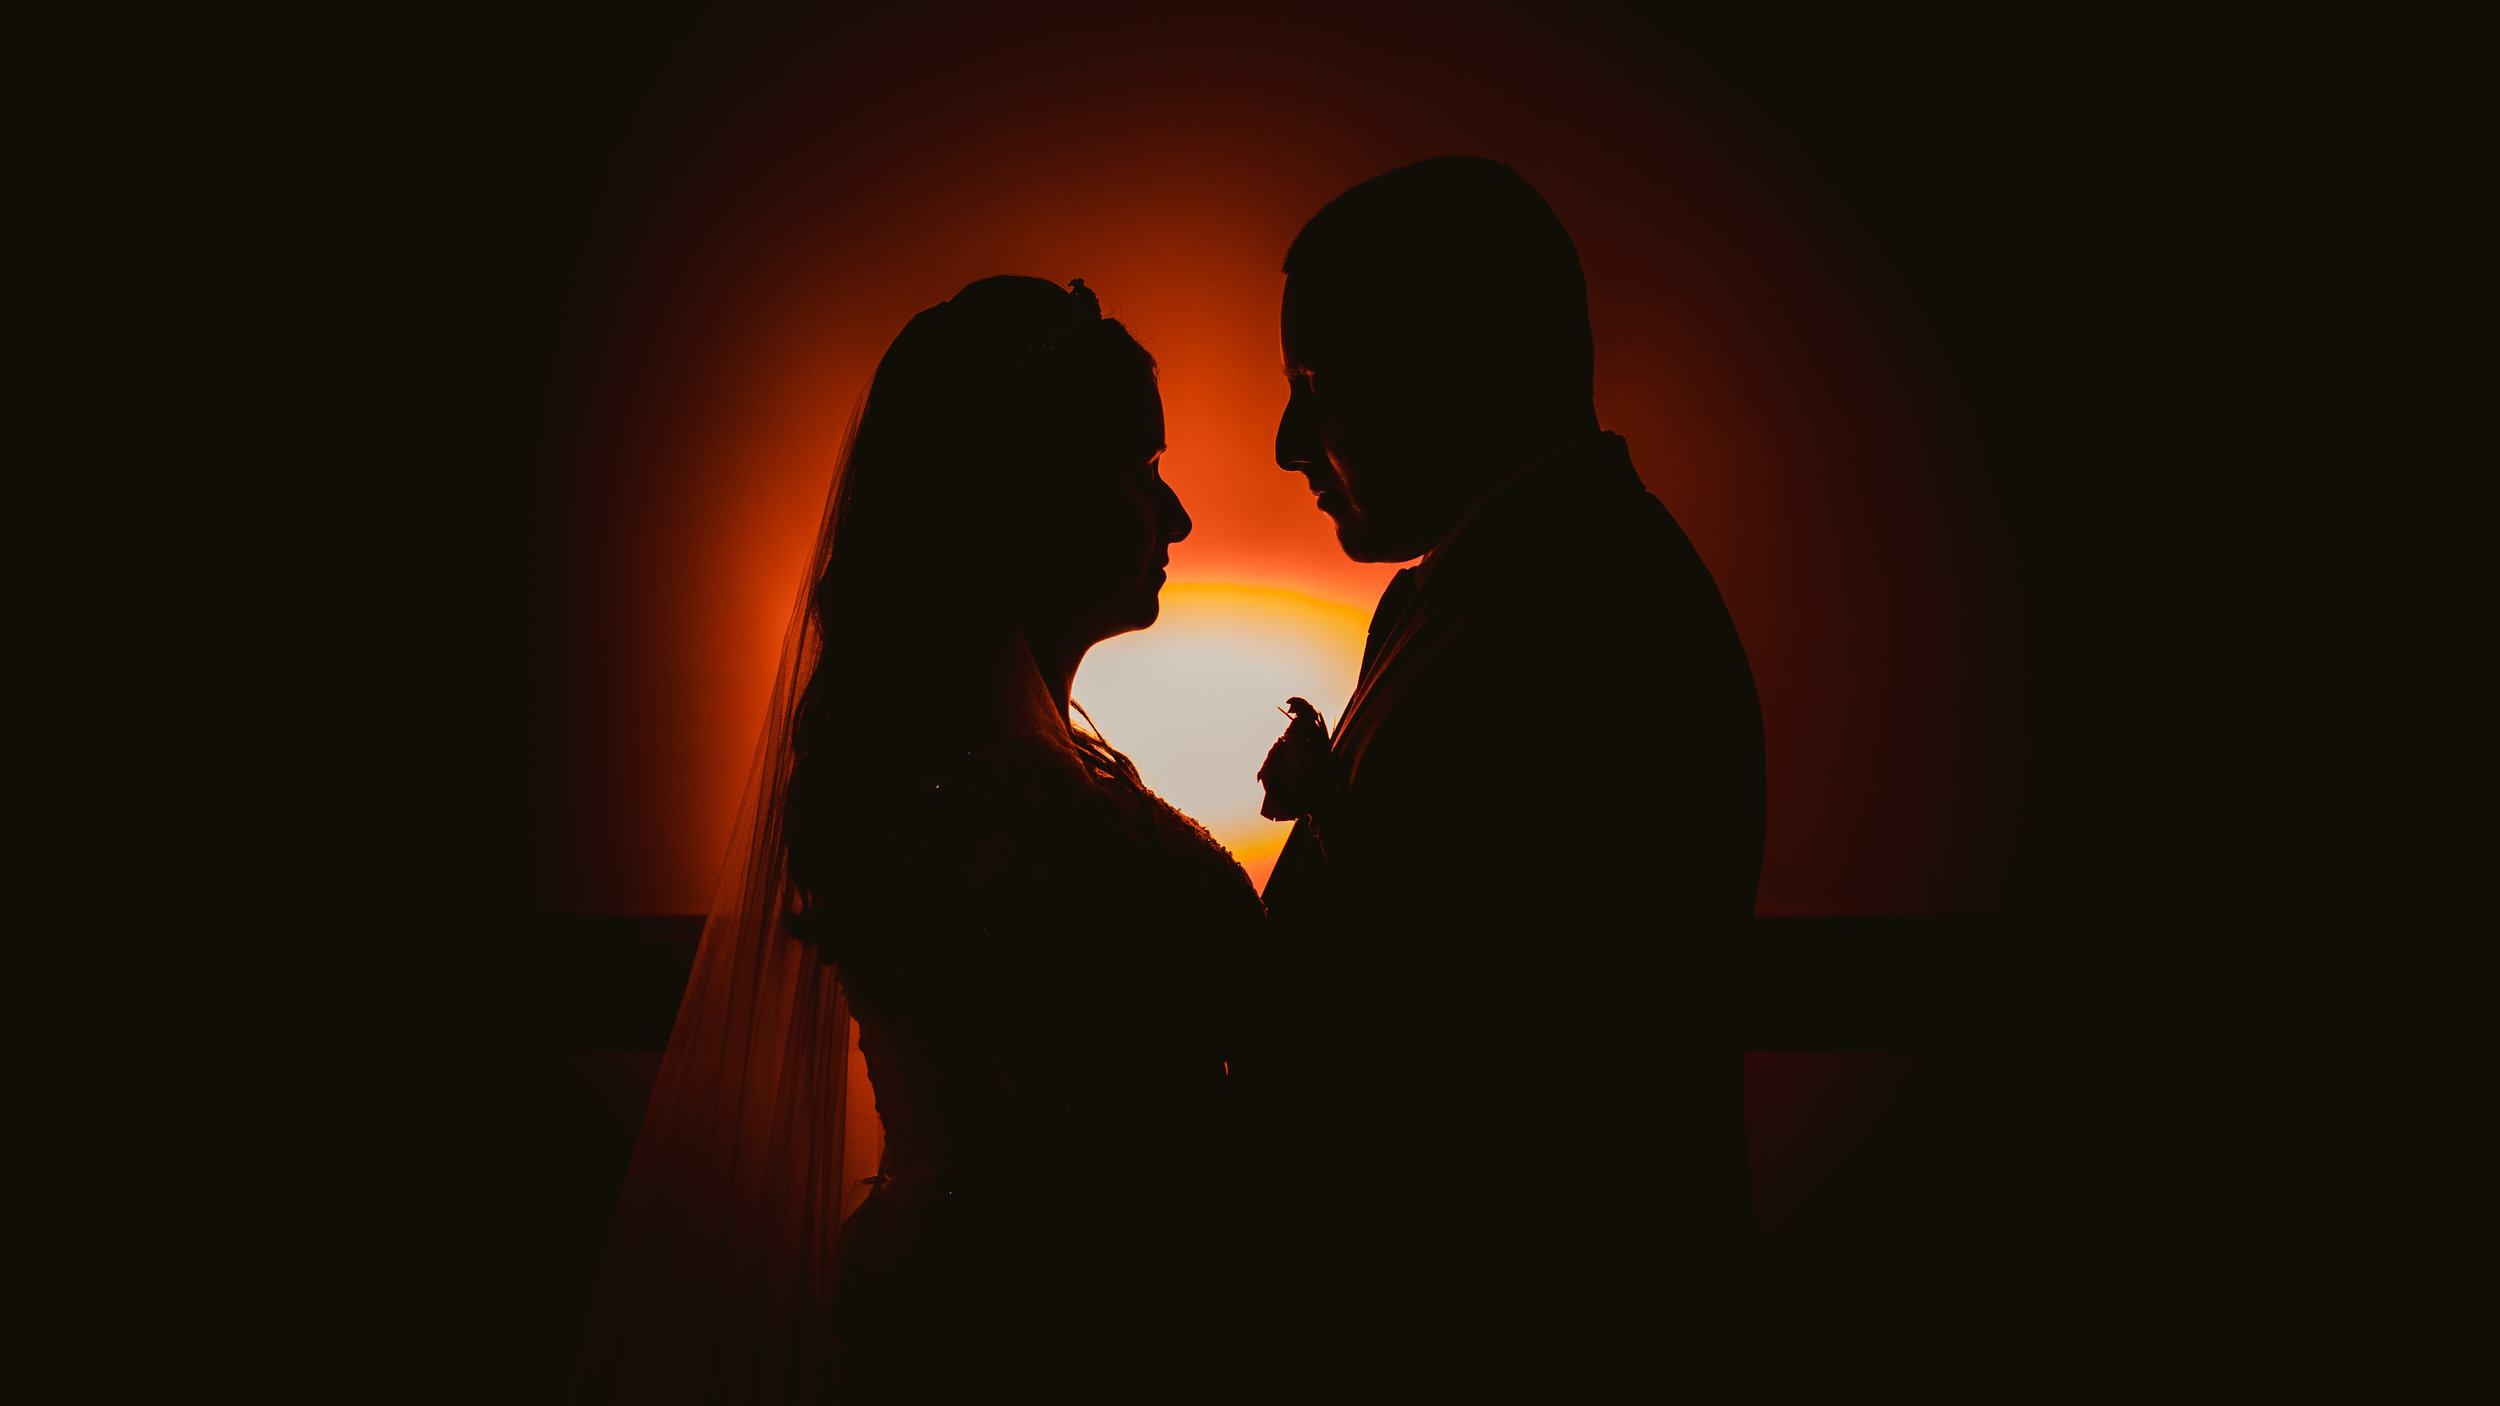
Here is the portrait that I’m going to breakdown.
Gear Used
Nikon D750
Sigma 24mm F1.4 Art lens
Yongnuo YN560III Speedlite
Yongnuo Radio Transmitter
Magmod Grip
Magmod Gel Holder
Magmod 1/2 CTO gel
Introduction
This portrait is fairly easy to execute once its all broken down into its core components. You can do this without the magmod system and even without modifiers. All you would need essentially is a speedlight with a radio transmitter. Another component that you would need is a fairly blank wall or a place where there isn’t too many things on the wall or object your bouncing light off.
For me I used a wall that was clean from any hanging photos or signs. Here is my first test shot to see where the light falls and where to frame the couple. The flash is about a foot away from the wall. I’ll go over the flash settings later in the post. For now this is the way I pointed the flash to get the orb like effect. *I don’t take any light stands to any wedding mainly because I find them to get in the way during weddings. I use the groom as a light stand!

Using the Speedlite
A quick introduction into using flash and how it affects the bounce effect and the ambient light. The church that this wedding was in was fairly well lit. But for this portrait I wanted a lower amount of ambient light. to give you a quick and dirty breakdown. Shutter speed controls the amount of ambient light when your using flash. F-stop controls the amount of flash power when your using flash. ***Tip to avoid any headaches. (Get your ambient to the way you want it to look then add flash. Don’t try to start off with flash because your gonna spend unnecessary time tweaking back and forth.
For this portrait I bumped up my shutter speed up to 1/160 to lower my ambient and then when I added my flash I keep it fairly low around 1/64 power because I don’t want to blast light. I want a small orb of light not a completely blown background.
Another thing to do is to Zoom your flash to a more narrow funnel of light. Your flash is usually starting off at 24mm but you can zoom most flashes up to 105mm. Depending on your situation you want to zoom in or out your flash. For me I zoom my flash at bit more than 24mm because I wanted a fairly small orb instead of having a huge spread.


Positioning of the Speelite
The position of the speedlite is a big factor of getting this look. For example on the first photo the groom was holding the flash about waist level pointing the light towards the wall. For this example the groom was holding the light about waist level but pointing it towards the tree. He was pointing the light towards the tree mainly because I want the tree to stick out and create some interest to the couple rather than a simple orb portrait.

Conclusion
The technique is a very awesome thing to have in your arsenal. Mainly because it’s so quick to pull off and it just requires gear that you would usually carry during a wedding. It take at most 2 mins or so to set up and a min to take the portrait I usually get someone to stand in place to get the look of what the light fall off would be. It’s all about experimenting!